Project: WLED Strip
Began in July 2026
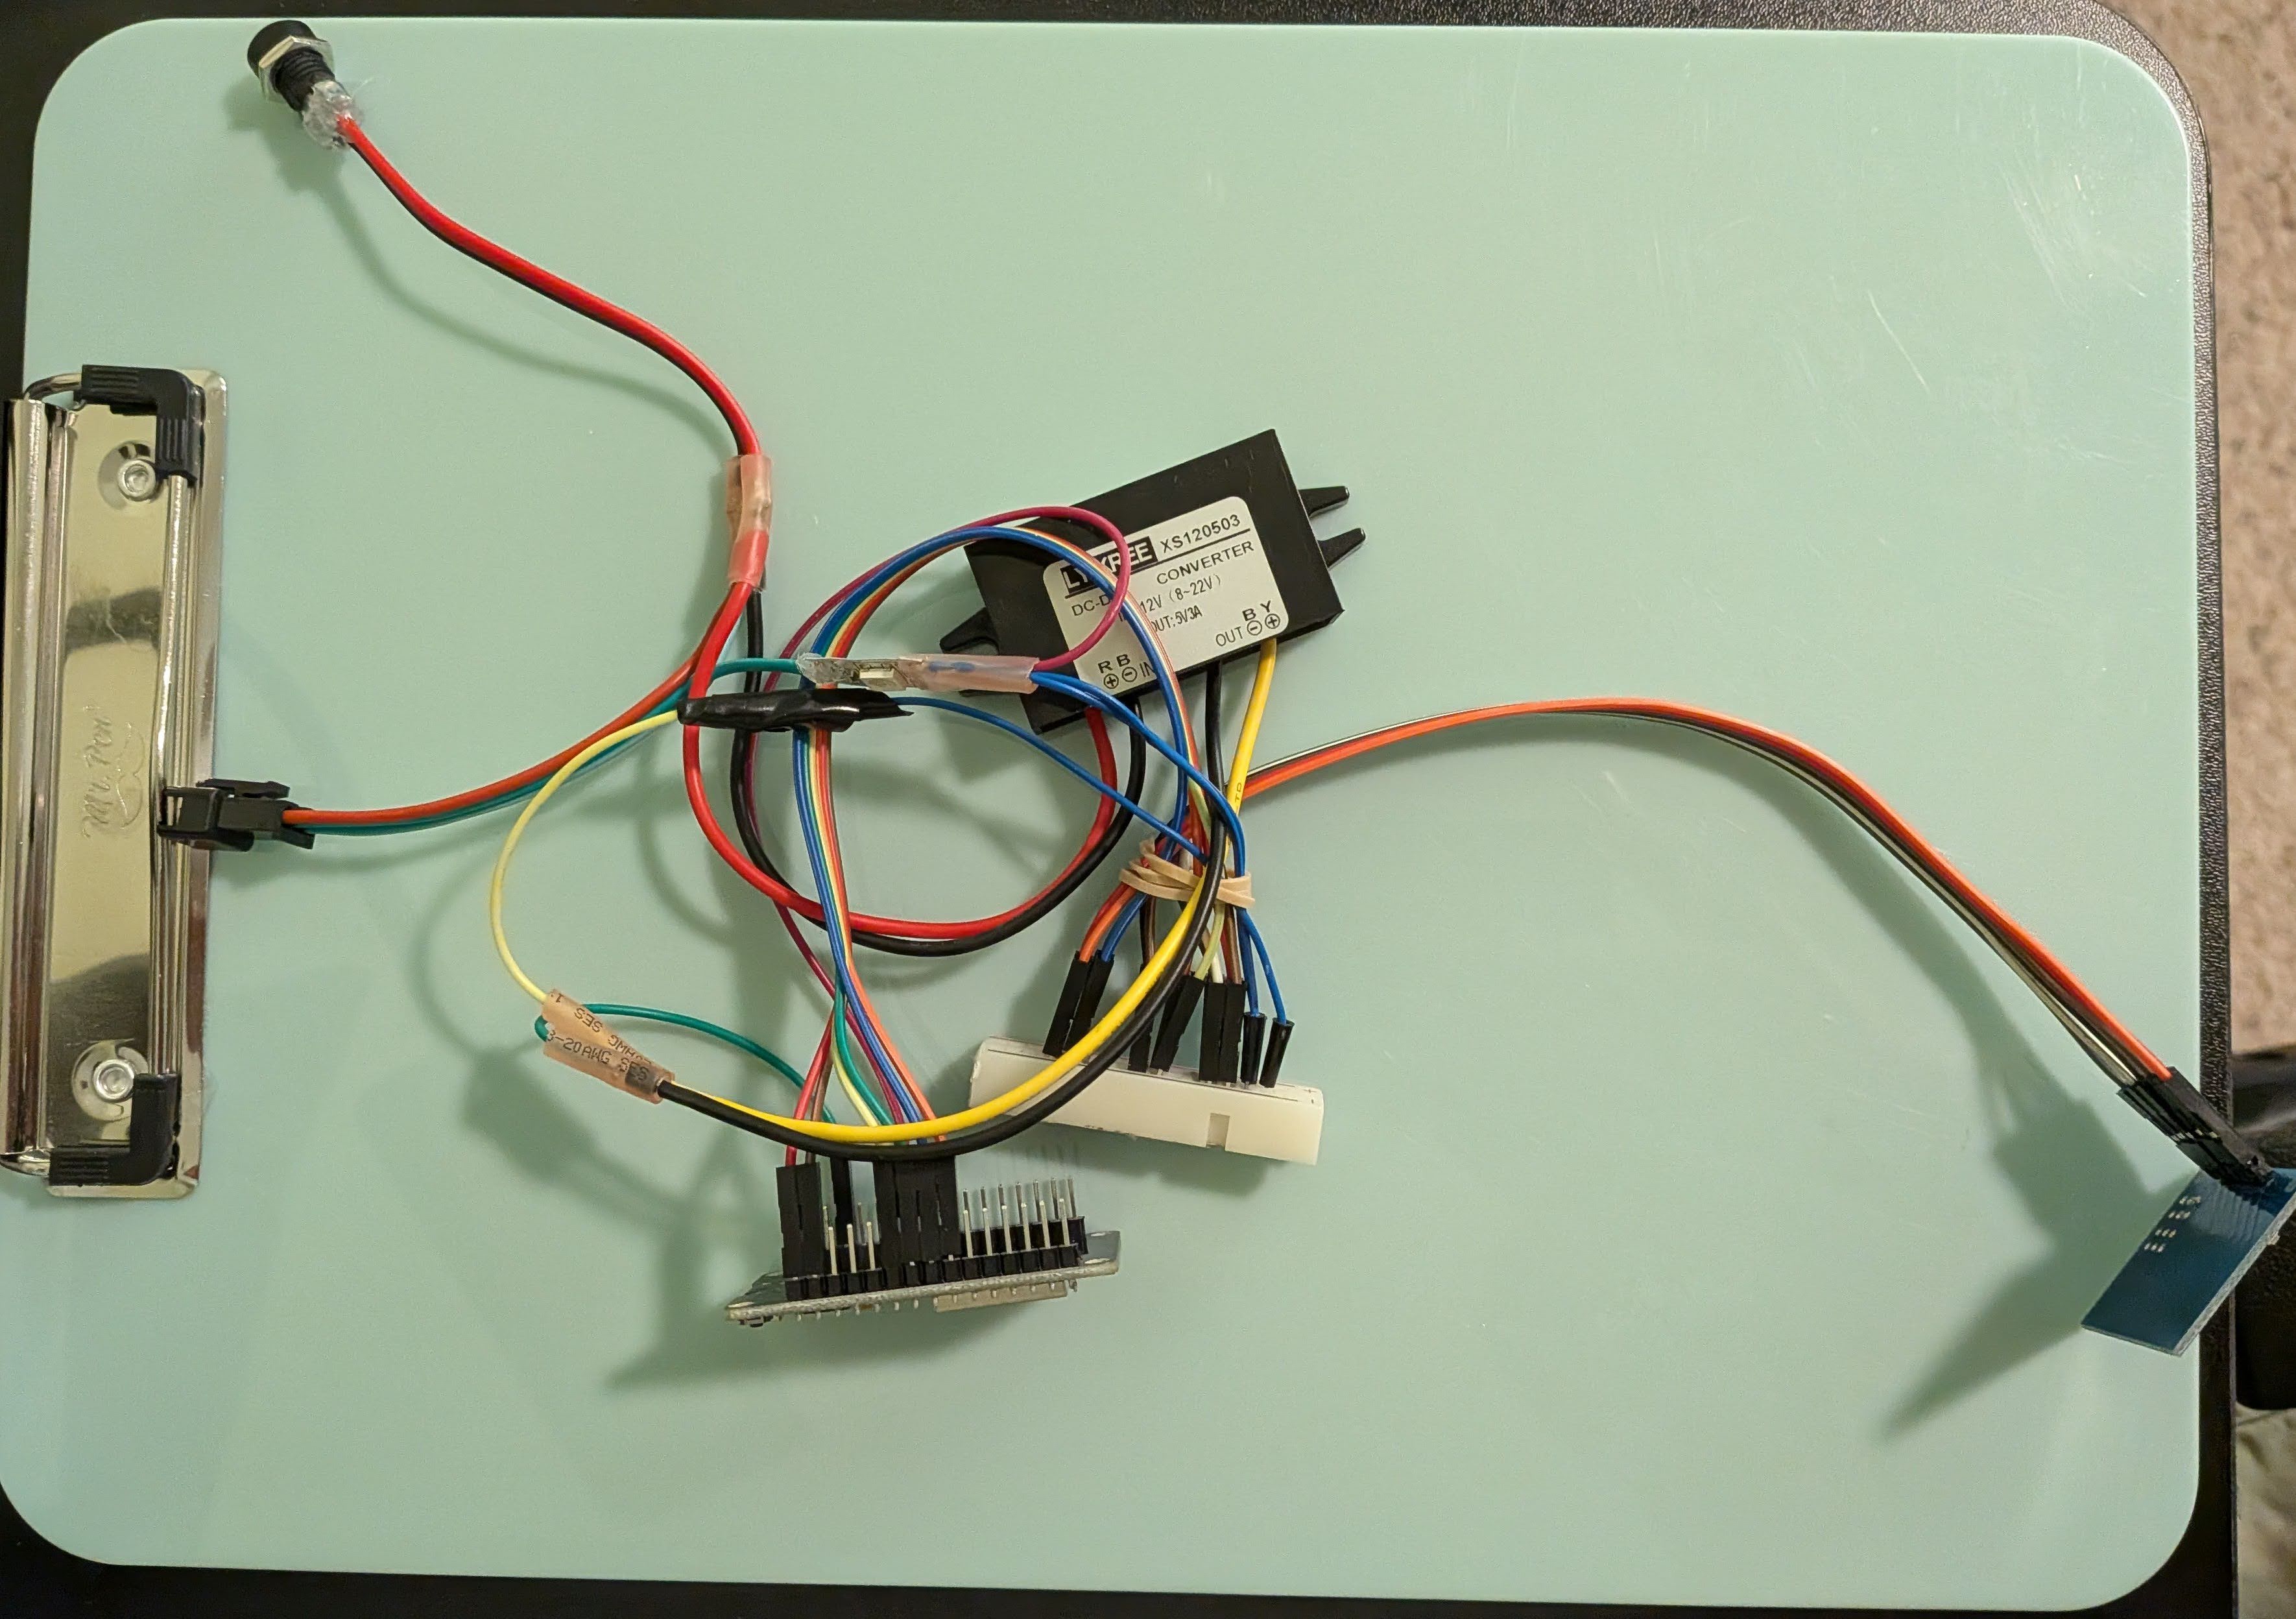
This project focused on circuit construction, soldering, and 3D printing. I used a stock open-source RGB controller software called WLED and worked on the assembly of the RGB strip, microcontroller, and peripherals.
I had a 12V strip, so I connected the 12V power supply in parallel to the LEDs and a buck converter to step down to the 5V voltage for the ESP32 that I used. Then, I connected this nice assembled 4-button capacitive touch sensor (TTP224), which I configured to trigger different presets.
In order to get the 3.3V logical output of the ESP32 up to the required 5V data line of the LED strip, I used the "sacrificial pixel" method to avoid needing a level shifter: I powered one different 5V pixel, located close to the board, that amplified the 3.3V GPIO signal up into the normal 5V operating range, which then was passed into the strip's data line.
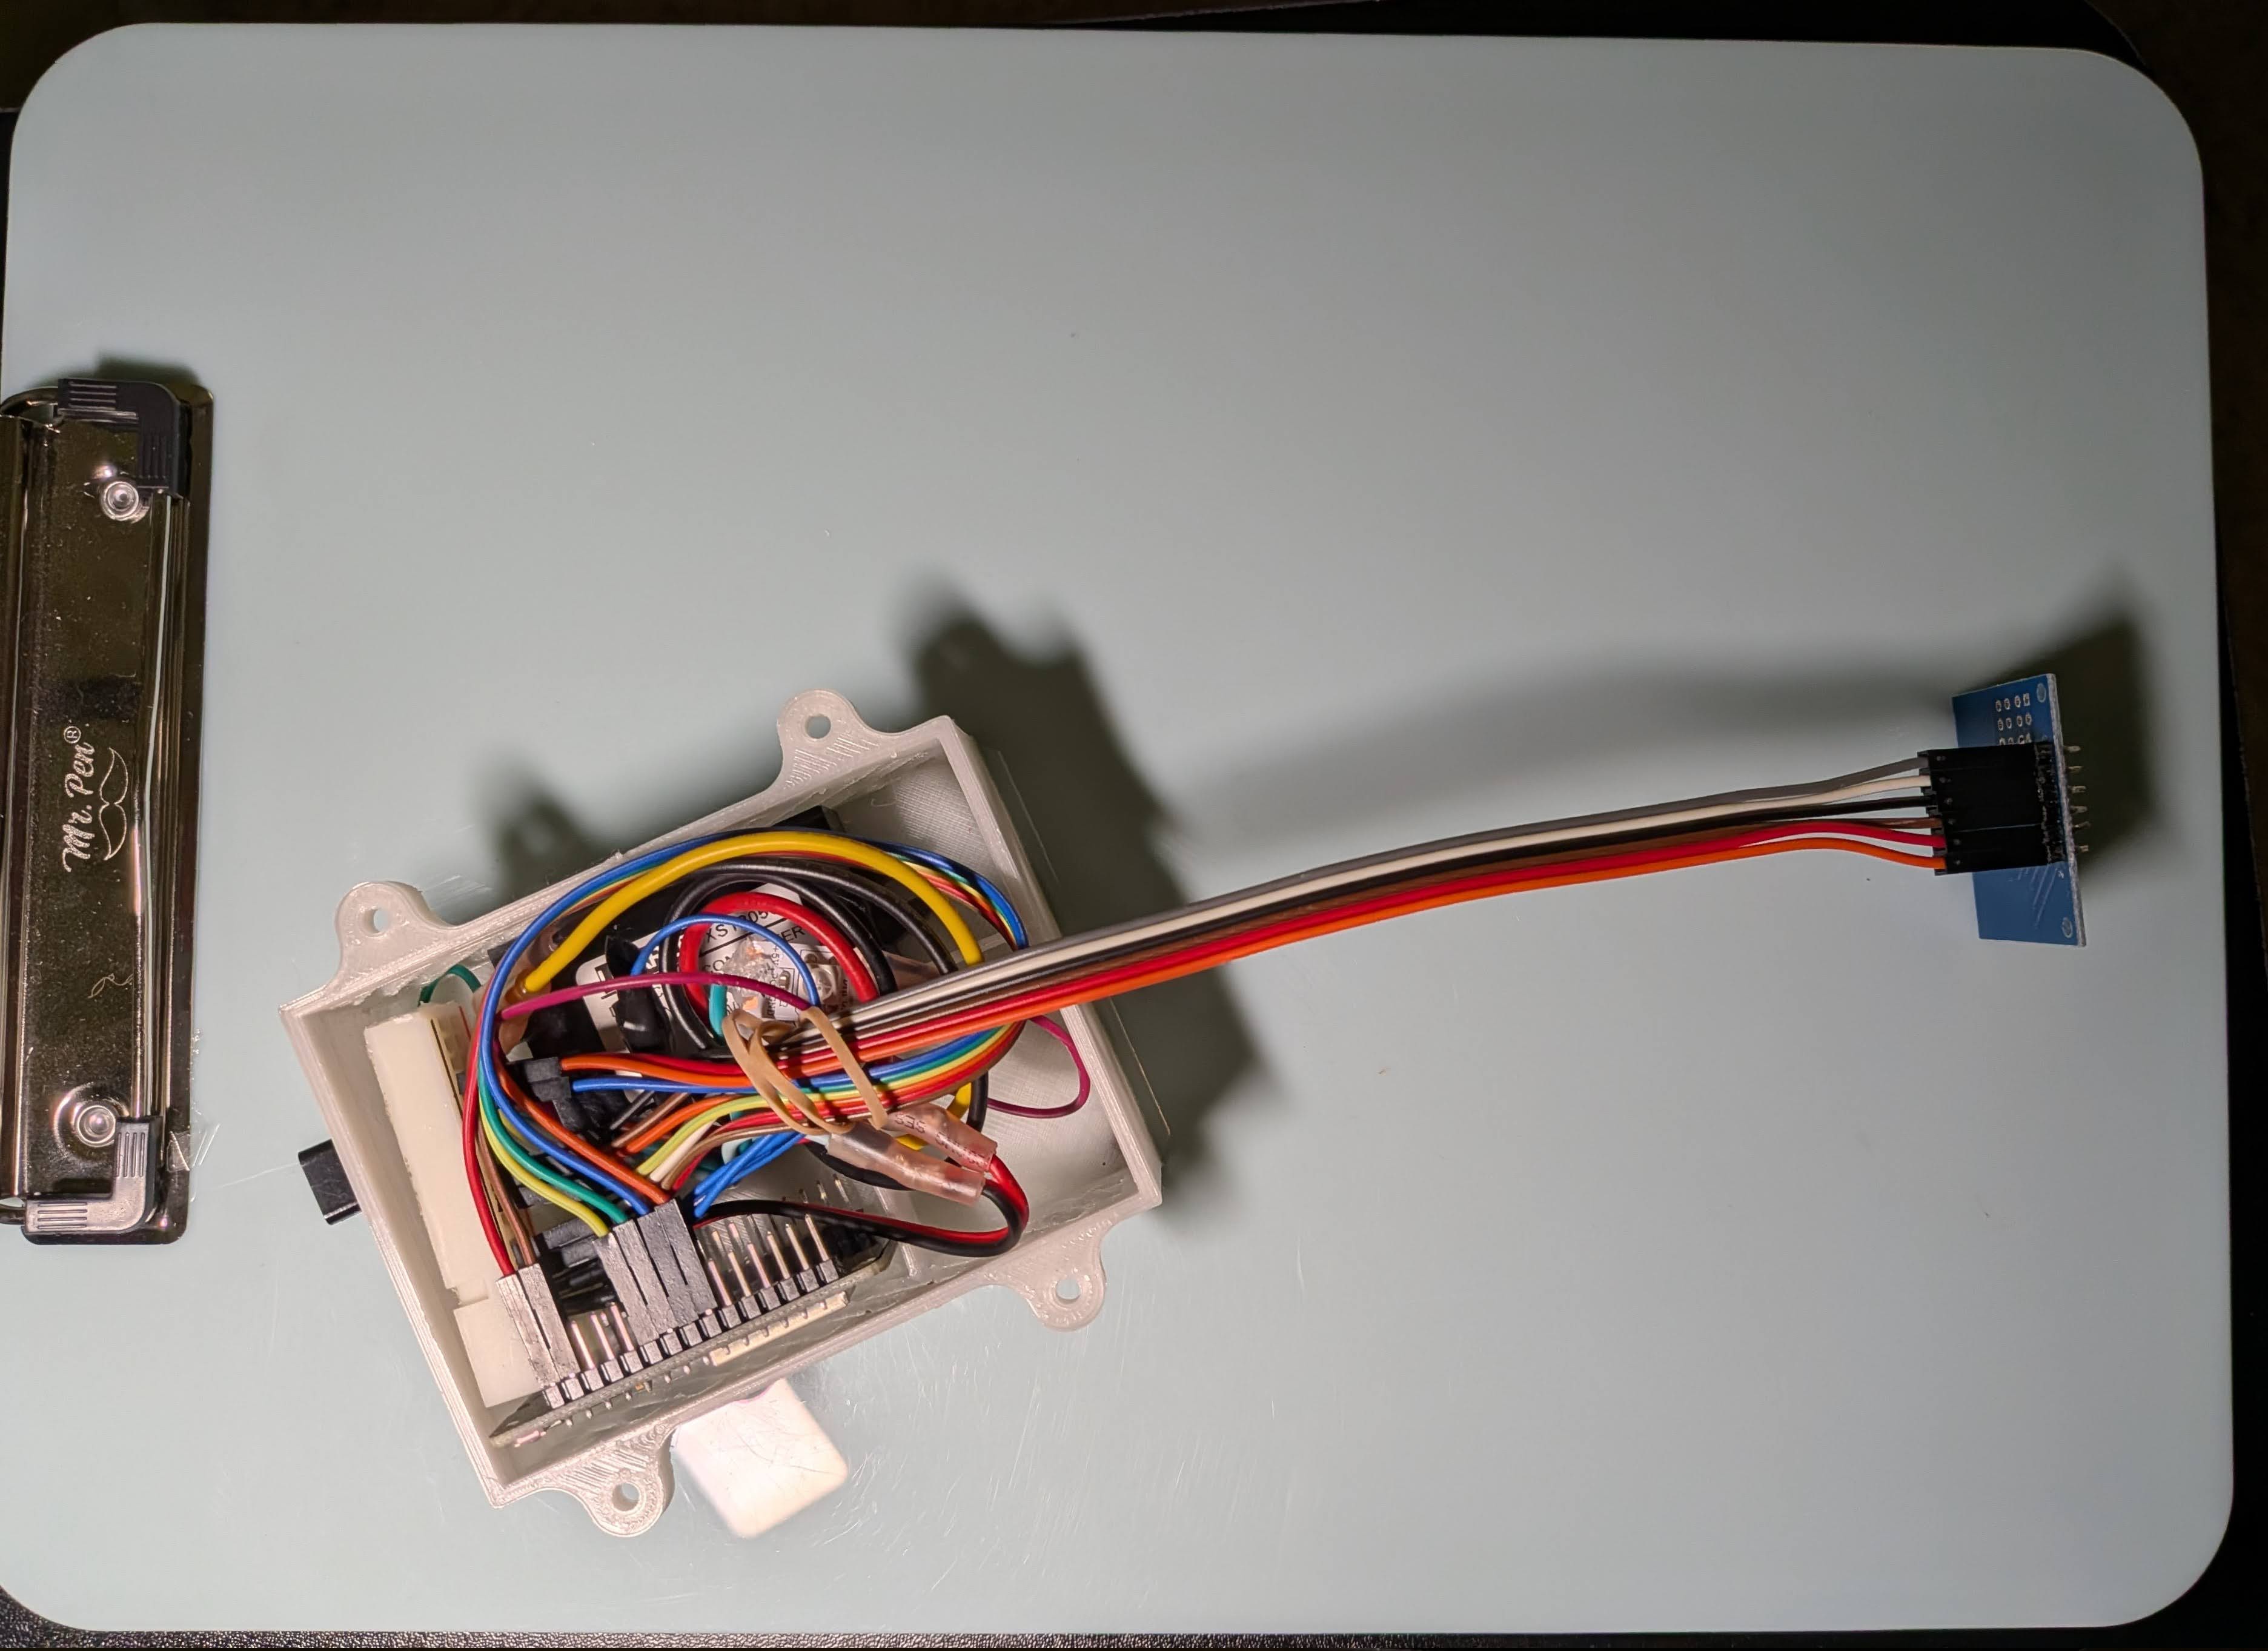
I 3D printed a housing for the microcontroller assembly, with accessible ports for the 12V DC power and the RGB strip interface. I then mounted this beneath my desk for an underglow/indirect lighting effect.